


Use Aspire with GitHub Codespaces
Este conteúdo não está disponível em sua língua ainda.
GitHub Codespaces provides a cloud-hosted development environment based on Visual Studio Code and the Dev Containers specification. You can use it from a browser or connect from Visual Studio Code on your local machine.
The maintained Aspire template provides a polyglot environment with Aspire, Docker-in-Docker, Node.js, Python and uv, .NET, and PowerShell installed as peer tooling. Aspire support in Codespaces also includes:
- Automatic port forwarding with the correct protocol.
- Dashboard links translated to Codespaces URLs.
- GitHub identity protection for forwarded endpoints.
GitHub Codespaces vs. Dev Containers
Section titled “GitHub Codespaces vs. Dev Containers”GitHub Codespaces builds upon Visual Studio Code and the Dev Containers specification. While the experiences are similar, there are some differences. For more information, see Aspire and Visual Studio Code Dev Containers.
Quick start using template repository
Section titled “Quick start using template repository”To configure GitHub Codespaces for Aspire, use the .devcontainer/devcontainer.json file in your repository. The simplest way to get started is by creating a new repository from the Aspire Dev Container template. Follow these steps:
-
Create a new repository using our template.
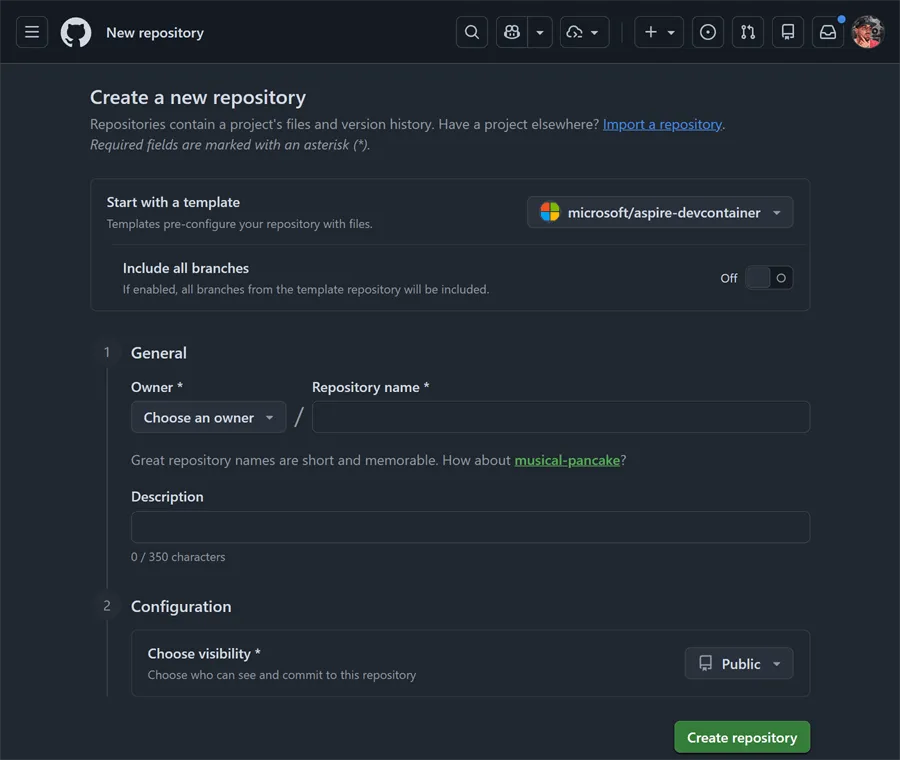
Once you provide the details and select Create repository, the repository is created and shown in GitHub.
-
From the new repository, select the Code button, open the Codespaces tab, and then select Create codespace on main.
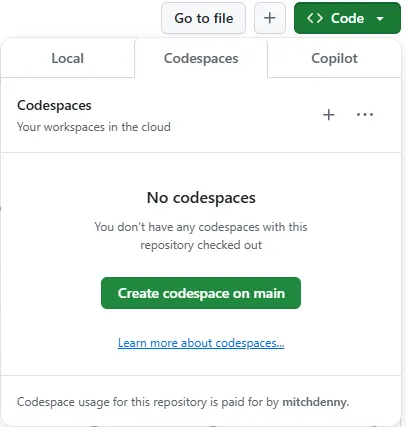
After you select Create codespace on main, you navigate to a web-based version of Visual Studio Code. Before you use the Codespace, the containerized development environment needs to be prepared. This process happens automatically on the server and you can review progress by selecting the Building codespace link on the notification in the bottom right of the browser window.

When the container image finishes building, the Terminal prompt appears to indicate that the environment is ready.
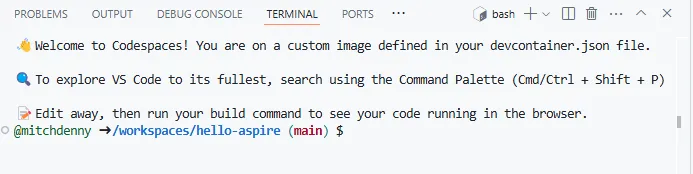
At this point, the Aspire CLI and the template’s language tooling are ready. The template doesn’t choose an application language or restore app-specific dependencies for you.
-
Start the interactive project creator:
Choose an Aspire starter aspire newChoose the TypeScript, Python, C#, or mixed-language starter that fits your app, then provide a name when prompted. For this walkthrough, use
aspire-appas the output directory. -
Change to the generated app directory and start dev-time orchestration:
Run the Aspire app cd ./aspire-appaspire run -
Open the dashboard by selecting the URL printed by
aspire run. Codespaces opens the forwarded dashboard in a separate browser tab.The dashboard translates resource endpoints from their container-local addresses to unique subdomains on the
app.github.devdomain.Traffic to each of these endpoints is automatically forwarded to the underlying process or container running within the Codespace. This includes development time tools such as PgAdmin and Redis Insight.
-
Commit changes to the GitHub repository.
GitHub Codespaces doesn’t automatically commit your changes to the branch you’re working on in GitHub. You have to use the Source Control panel to stage and commit the changes and push them back to the repository.
Working in a GitHub Codespace is similar to working with Visual Studio Code on your own machine. You can check out different branches and push changes just like you normally would. You can also create multiple Codespaces when you want to work on another branch without disrupting a running app. For more information, see Developing in a codespace.
-
Clean up your Codespace.
Treat GitHub Codespaces as disposable development environments that you can recreate as needed. Keep environment setup in
devcontainer.jsonand related configuration files, and commit your source changes before deleting a Codespace.To delete a Codespace, visit the GitHub Codespaces page and open its management menu.
GitHub charges for the use of Codespaces. For more information, see Managing the cost of GitHub Codespaces in your organization.
Use Aspire in an existing Codespaces repository
Section titled “Use Aspire in an existing Codespaces repository”If your repository already exists, add a devcontainer.json file to its .devcontainer folder:
Directory.devcontainer
- devcontainer.json
Use the maintained Aspire template configuration as your starting point. Linking to the source file keeps your Codespace aligned with the tested feature versions, lifecycle commands, and host requirements as they change.
The template starts from Ubuntu and layers Aspire, Docker-in-Docker, Node.js, Python and uv, .NET, and PowerShell as independent Dev Container Features. Keep the runtimes and editor extensions your repository needs and remove the rest.
The template requests 8 CPUs, 32 GB of memory, and 64 GB of storage because it supports several language toolchains and nested containers. Adjust those requirements for your app and Codespaces budget.
The template runs aspire certs trust --non-interactive whenever the Codespace starts and adds the .NET development certificate trust directory (~/.aspnet/dev-certs/trust) to SSL_CERT_DIR. This lets OpenSSL-based tools inside the Codespace verify Aspire HTTPS endpoints without making certificate setup language-specific.
Speed up Codespace creation
Section titled “Speed up Codespace creation”Creating a Codespace can take time while GitHub builds the Dev Container and installs its features. Configure prebuilds to prepare that environment before a developer opens it. Startup lifecycle commands, including Aspire certificate trust, still run when a prebuilt Codespace starts or resumes.
For more information, see GitHub Codespaces prebuilds.
 Aspire