If you have a terminal user interface (TUI) application or a shell-based experience that you want to exercise while it runs under Aspire, add WithTerminalwithTerminal to the resource. Aspire then exposes an interactive terminal session that you can attach to from the Aspire dashboard or from the aspire terminal CLI command.
For an introduction to the resource Terminal view, terminal dock, and detached windows, start with Dashboard terminals.
Start with a TypeScript or C# AppHost and an installed interactive program. Resource terminals support executable and project processes on Windows, macOS, and Linux, as well as container processes through the container runtime. Containers require a supported container runtime.
The following example runs Python’s interactive REPL. Install Python and ensure python3 is on the AppHost machine’s PATH; use python instead if that is your installation’s command, for example on Windows. It doesn’t require a Python source file.
Start the app with aspire run, select repl on the dashboard’s Console logs page, and switch to Terminal if needed. At the Python prompt, enter print("Hello from Aspire"). You can also run aspire terminal attach repl after enabling the CLI commands.
Reach for WithTerminal when a resource is interactive rather than a plain background service:
A TUI application—for example, an agent, a diagnostics console, or a curses-style tool—that draws a full-screen interface you want to see and drive.
A shell-based experience where you want an interactive prompt inside a container or executable while it runs as part of your app model.
An interactive development tool that you want to use without leaving the Aspire dashboard or CLI.
WithTerminal attaches to the resource’s configured process; it doesn’t open an additional shell inside an existing service. For that scenario, use an AppHost-owned container exec terminal.
The TypeScript AppHost and C# AppHost build the client’s image with AddDockerfileaddDockerfile, pass the API endpoint through BASE_URL, wait for the API, and enable the terminal with WithTerminal(). The client runs as the resource’s main process; there is no separate client session to create.
Follow either sample’s README to send a request from the resource terminal, change the stored data through Redis’s separate REPL command, and read it back through the API. This illustrates the distinction between an interactive resource and an ephemeral terminal without requiring host installations of the client tools.
When you apply WithTerminal, Aspire runs the resource as a plain process and does not automatically attach the debugger. If you need to debug the resource, attach the debugger manually to the running process from your IDE.
Terminal sessions support multiple simultaneous viewers. You can open two browser tabs pointing at the same terminal, or a browser tab and the CLI together. They share the same process and screen, not separate shells. Coordinate input when another person or automation is attached.
One peer holds the primary role and drives the terminal’s dimensions, while the others attach as secondary viewers. From the CLI you can attach without taking sizing control with aspire terminal attach <resource> --viewer, and take control later with the Ctrl+B T hotkey. A secondary viewer isn’t an exclusive-input or read-only boundary.
To query a running database or cache, use the integration’s WithRepl() command instead. It opens an additional client in the terminal dock without changing the server’s main process. WithTerminal() is for a resource whose main process needs an interactive terminal.
The terminal session is described by a set of options with sensible defaults:
Option
Default
Description
Columns
120
The initial number of columns for the terminal grid.
Rows
30
The initial number of rows for the terminal grid.
ShowTerminalHost
false
Whether the hidden per-replica terminal host resources appear in the dashboard and CLI resource lists and export their diagnostic logs, metrics, and traces. Set to true to diagnose terminal-host startup or connectivity issues.
TypeScript’s withTerminal() currently applies the default options. Configuring initial dimensions through a TypeScript options overload isn’t supported.
Each replica of a resource gets its own independent terminal session. Aspire creates one terminal host per parent replica, so requesting three replicas yields three separate terminals. The order of WithReplicaswithReplicas and WithTerminal does not matter. For a project-based interactive app in ../Agent/Agent.csproj:
Add a project reference to Agent.csproj in your AppHost before using its generated Projects.Agent type.
AppHost.cs
#pragmawarningdisable ASPIRETERMINAL001
var builder =DistributedApplication.CreateBuilder(args);
builder.AddProject<Projects.Agent>("agent")
.WithReplicas(3)
.WithTerminal();
builder.Build().Run();
When a resource has more than one replica, choose which one to attach to with aspire terminal attach <resource> --replica <index> (indices are 0-based), or pick interactively when prompted.
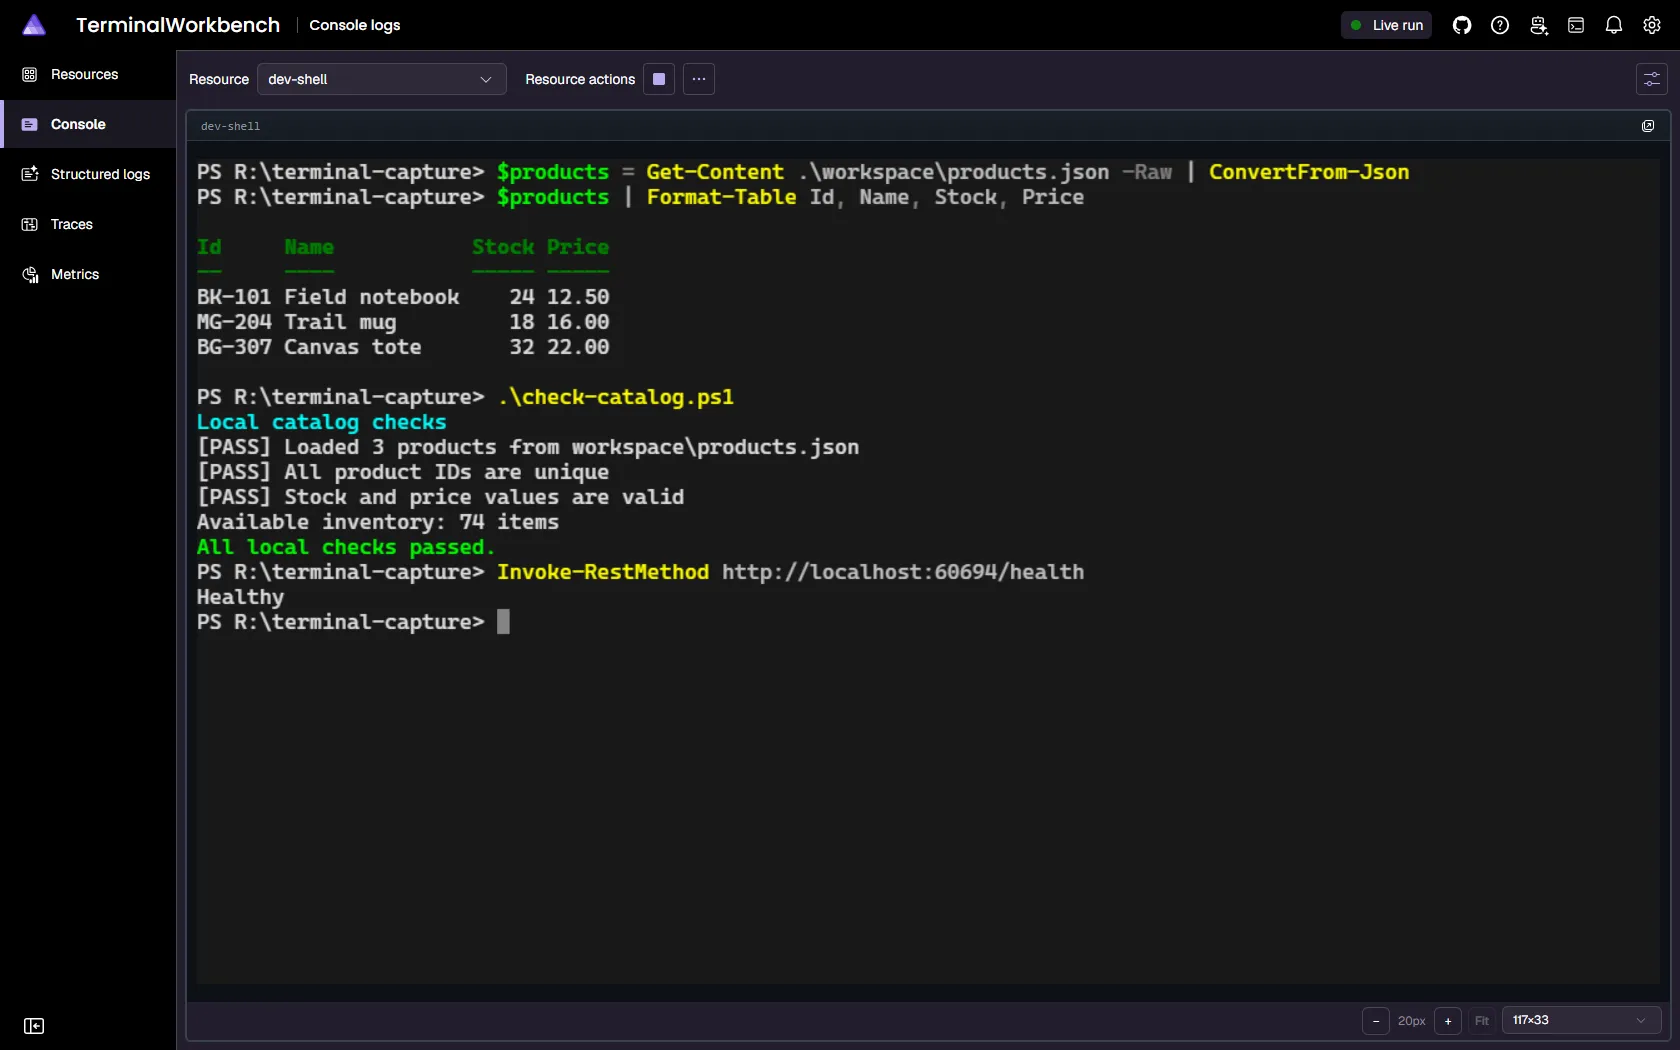
When a resource has WithTerminal applied, its Console logs page gains a live terminal session alongside the usual console log stream. Select a replica to interact with its independent session.
The page picks a default view based on the resource’s state at the moment you navigate to it:
Running (the PTY is live) → the page defaults to the Terminal view, so the interactive session is the first thing you see.
Waiting/Starting or already Exited/Finished/FailedToStart → the page defaults to the Console logs view, so hosting messages—such as “Waiting for resource X to become healthy…” or a startup failure—and post-exit output remain visible immediately.
Select Settings in the page toolbar and choose Terminal or Console logs to switch views manually at any time. Both views stay live while you’re on the page: switching between them never tears down the terminal session or loses console log scrollback, and a later state transition (for example, Waiting → Running) doesn’t auto-switch the view once you’ve navigated to the page. Selecting a different resource re-evaluates the default for that resource.
For detached windows, font and sizing controls, keyboard focus navigation, and lifecycle differences, see Dashboard terminals.
Because a terminal-backed executable bridges its standard output and error through the pseudo-terminal (PTY) instead of separate log streams, the Console logs view and aspire logs only show that resource’s startup and system logs. For example the view shows lifecycle and DCP diagnostics but not the interleaved stdout and stderr text you see in the Terminal view. Use the Terminal view or aspire terminal attach <resource> to see the process’s own output.
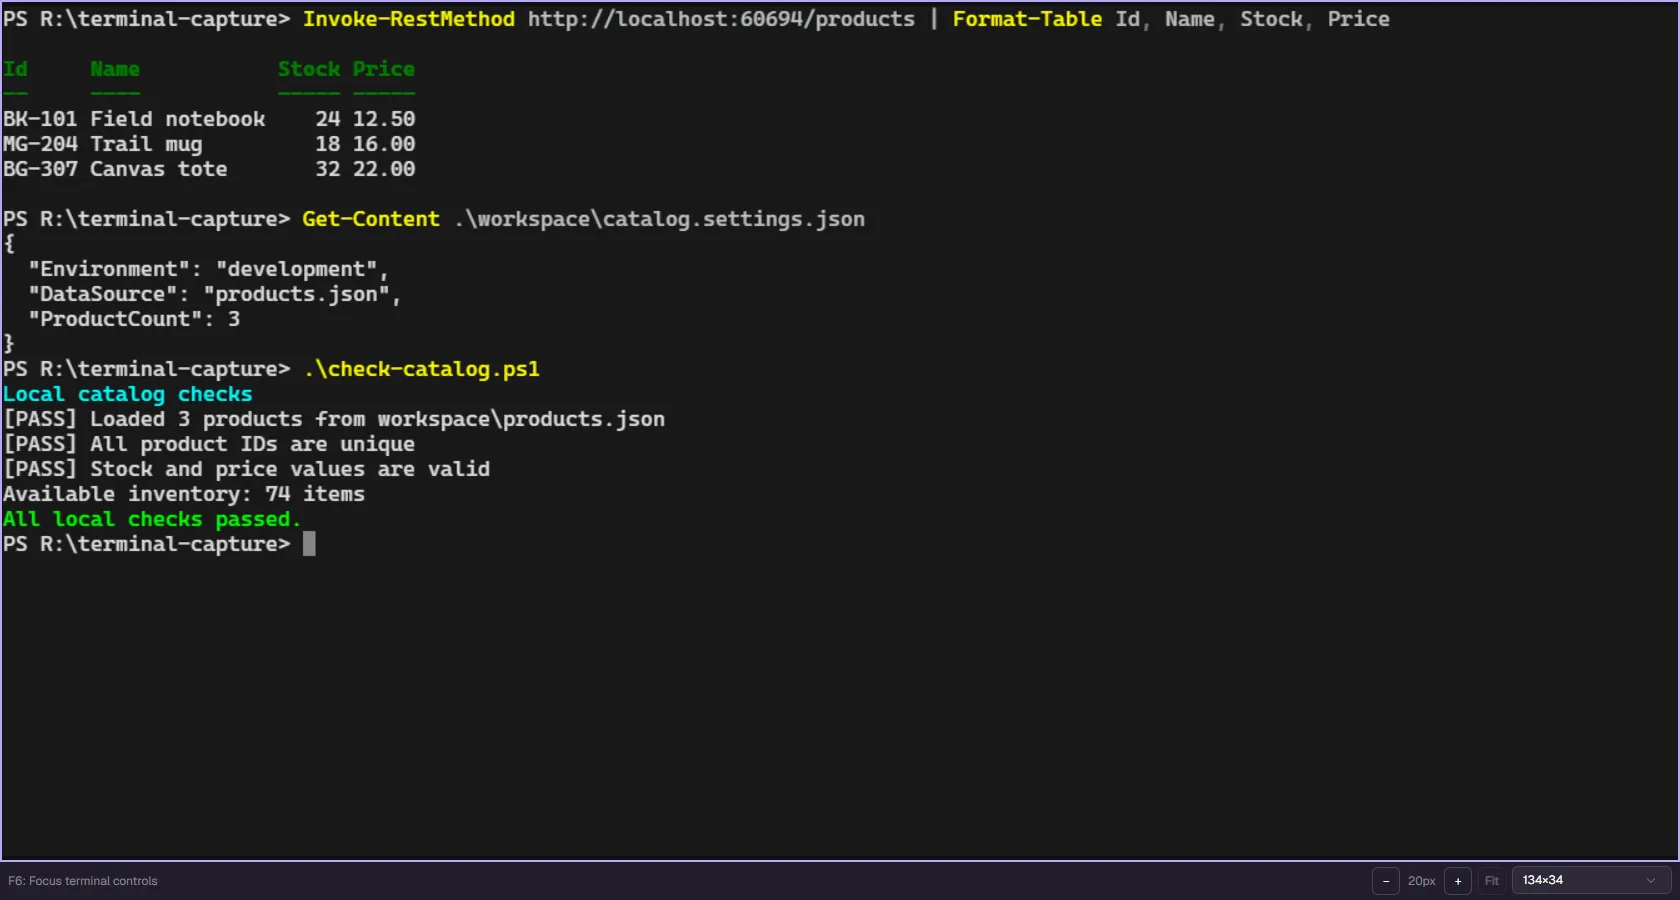
Use Open in new window to keep a terminal visible while you inspect other dashboard pages. AppHost-owned terminal dock tabs can also open in a separate window, as shown below. Their detached view contains the terminal and its controls rather than the dashboard navigation.
Resource terminals and AppHost-owned dock terminals have different ownership and lifetimes. Closing a viewer doesn’t replace disposing an AppHost-owned terminal. For more about docked terminals, see Explore the Aspire dashboard.
In the Aspire VS Code extension, any resource configured with WithTerminal() gains an Open terminal entry in its right-click context menu. Selecting Open terminal runs aspire terminal attach <resource> and opens the session as an editor-style terminal tab directly in VS Code—no separate shell window needed.
For multi-replica resources, the extension automatically passes --replica <index> so the correct instance is attached. The --apphost flag is included when the current AppHost connection information is available, so the command connects without requiring you to specify the AppHost separately.



 Aspire