This article is the reference for the Aspire Azure AI Foundry hosting integration. It enumerates the AppHost APIs — with examples for both AppHost.cs and apphost.mts — that you use to model a Foundry account, model deployments, Foundry projects, hosted agents, and prompt agents in your AppHost project.
var builder =DistributedApplication.CreateBuilder(args);
var foundry =builder.AddFoundry("foundry");
builder.AddProject<Projects.ExampleProject>()
.WithReference(foundry);
// After adding all resources, run the app...
The preceding code adds an Azure AI Foundry resource named foundry to the AppHost project. The WithReference method passes the connection information to the ExampleProject project.
var builder =DistributedApplication.CreateBuilder(args);
var foundry =builder.AddFoundry("foundry");
var chat =foundry.AddDeployment("chat",FoundryModel.OpenAI.Gpt5Mini);
builder.AddProject<Projects.ExampleProject>()
.WithReference(chat)
.WaitFor(chat);
// After adding all resources, run the app...
The preceding code:
Adds an Azure AI Foundry resource named foundry.
Adds a Foundry deployment resource named chat using the generated FoundryModel.OpenAI.Gpt5Mini descriptor.
If you need a different generated model descriptor, use the corresponding nested type. The FoundryModel class organizes models by provider family: FoundryModel.Microsoft, FoundryModel.OpenAI, FoundryModel.Cohere, FoundryModel.MistralAI, and others. For example, to use FoundryModel.Microsoft.Phi4Reasoning:
The preceding code creates a Foundry project and adds a deployment through AddModelDeployment. When you call WithReference(project), Aspire injects the standard connection string and project-specific connection properties such as the project endpoint and Application Insights connection string into the consuming resource.
Adds an Application Insights resource to the Microsoft Foundry project, overriding the default (which is to create a new Application Insights resource).
Configures the resource to use the specified container registry for container image operations.
withContainerRegistry(
constregistry:AzureContainerRegistryResource
registry);
AppHost.cs
var builder =DistributedApplication.CreateBuilder(args);
var foundry =builder.AddFoundry("foundry");
var appInsights =builder.AddAzureApplicationInsights("appinsights");
var keyVault =builder.AddAzureKeyVault("keyvault");
var registry =builder.AddAzureContainerRegistry("agents");
var project =foundry.AddProject("my-project")
.WithAppInsights(appInsights)
.WithKeyVault(keyVault)
.WithContainerRegistry(registry);
AddProject creates a default Azure Container Registry for hosted agents only in publish mode (when deploying to Azure). In local run mode, no default registry is created. Use WithContainerRegistry when you want to point the project at a specific registry.
A Toolbox is a Foundry data-plane resource that bundles reusable tools behind a single MCP endpoint. Toolboxes don’t have an ARM or Bicep representation — Aspire manages them directly through the Foundry data-plane API. Use AddToolbox on a Foundry project to declare one:
The identity running aspire run or aspire deploy needs the Foundry User role on the project to manage Toolbox versions. Deployed compute resources that reference the Toolbox receive this role on the project automatically. The Search index named docs must already exist and contain data: neither AddAzureSearch nor WithAISearchTool creates or populates it. Toolbox availability depends on the Foundry service preview and its supported regions.
API
Parameter
Description
AddToolbox(...)
name
The Aspire resource name and the Toolbox name.
WithDescription(...)
description
A description persisted with each Toolbox version.
WithWebSearchTool(...)
name, description
Adds a web search tool definition to the Toolbox.
WithMcpTool(...)
name, endpoint, options
Adds an MCP tool definition. endpoint accepts a string URI, an EndpointReference, or a ReferenceExpression for composed URLs. options configures the MCP server label, description, and approval policy.
WithAISearchTool(...)
name, search, indexName, description
Adds an Azure AI Search tool backed by an AddAzureSearch resource and an existing search index.
Aspire reuses the current default Toolbox version when its configuration matches. Otherwise, it creates and promotes a new immutable version, using a deterministic configuration fingerprint to detect changes. The default consumer endpoint always serves the promoted version; set the Toolbox resource’s Version only when a consumer must pin a specific immutable version.
Ownership metadata provides best-effort coordination, not an atomic lease. The service doesn’t expose an ETag or conditional update operation. Aspire checks ownership and the current default before promotion and verifies the result afterward, failing rather than overwriting contradictory concurrent changes.
Use the existing-resource methods to validate a remote Toolbox without resolving modeled tools, creating versions, or changing the default:
Method
aspire run
aspire deploy
RunAsExisting()
Validate existing
Reconcile managed
PublishAsExisting()
Reconcile managed
Validate existing
AsExisting()
Validate existing
Validate existing
These methods apply to the Toolbox resource itself. Existing mode validates the remote Toolbox, and a pinned version if supplied, without resolving local tools or promoting a version. See Toolbox connection properties for the consumer’s endpoint, authentication scope, and required request header.
In run mode, AsHostedAgent(...) configures a local http endpoint for the agent. Aspire first checks whether the resource already has an endpoint named http. If that endpoint has a target port, Aspire preserves it. If there is no existing http target port, Aspire defaults to 8088.
Aspire also injects the selected port as DEFAULT_AD_PORT, so hosted-agent apps can bind to the right port:
var port =Environment.GetEnvironmentVariable("DEFAULT_AD_PORT")??"8088";
builder.WebHost.UseUrls($"http://+:{port}");
If your hosted agent listens on a different port, declare the endpoint before calling AsHostedAgent(...):
var dotnetWeatherAgent =builder.AddProject<Projects.WeatherAgent_Dotnet>("weather-agent-dotnet")
.WithHttpEndpoint(targetPort:9000)
.WithReference(project).WaitFor(project)
.WithReference(chat).WaitFor(chat);
dotnetWeatherAgent.AsHostedAgent(project);
In run mode, Aspire also opens the agent’s dashboard URL at the selected protocol path, defaults that path to /responses, adds a dashboard command for sending a message to the selected path, and enables OpenTelemetry environment variables for agent instrumentation.
For .NET hosted agents, add your Service Defaults project reference and call builder.AddServiceDefaults() in the hosted-agent app so logs, metrics, traces, HTTP instrumentation, and OTLP export flow into the Aspire dashboard. Then enable telemetry on the Foundry Responses chat client that backs the Microsoft Agent Framework (MAF) agent.
In publish mode, Aspire creates an AzureHostedAgentResource and publishes the container to the project-associated registry.
For C# AppHosts, the parameterless AsHostedAgent() overload reuses an existing Foundry project from the app model or creates one automatically. TypeScript AppHosts pass the project resource explicitly.
AsHostedAgent defaults to the Responses protocol version 2.0.0. If your hosted agent implements a different protocol or protocol version, use the C# AsHostedAgent(project, protocol, version) overload or the polyglot/TypeScript asHostedAgentWithProtocol export. For example, some Microsoft Agent Framework (MAF) agents use the Invocations protocol:
The defaulted asHostedAgent entry point and the explicit asHostedAgentWithProtocol entry point are both exported to polyglot AppHosts, so existing AppHosts that call asHostedAgent(project, options?) continue to work unchanged with the Responses 2.0.0 default. Reach for asHostedAgentWithProtocol only when you need a protocol or version other than the default.
Adds a Web Search tool to a Microsoft Foundry project, enabling agents to retrieve real-time information from the public web and return answers with inline citations.
var builder =DistributedApplication.CreateBuilder(args);
var foundry =builder.AddFoundry("foundry");
var project =foundry.AddProject("my-project");
var chat =project.AddModelDeployment("chat",FoundryModel.OpenAI.Gpt5Mini);
var webSearch =project.AddWebSearchTool("web-search");
var webResearcher =project.AddPromptAgent(chat, name:"web-researcher",
instructions:"""
You are the Web Researcher. Use web search for current information,
cite sources, summarize tradeoffs, and keep answers concise and practical.
""")
.WithTool(webSearch);
builder.Build().Run();
Parameter details:
API
Parameter
Description
AddPromptAgent(...)
model
The Foundry model deployment resource the prompt agent uses, such as chat from project.AddModelDeployment(...).
AddPromptAgent(...)
name
The Aspire resource name and Foundry agent name. This also drives generated environment variable prefixes, for example web-researcher becomes WEB_RESEARCHER.
AddPromptAgent(...)
instructions
Optional system instructions for the prompt agent. Use this to define behavior, tool-use guidance, and response style.
WithTool(...)
tool
A Foundry tool resource created on the same Foundry project, such as AddWebSearchTool(...), AddCodeInterpreterTool(...), or AddAISearchTool(...).
Prompt agents are deployed to Azure AI Foundry even during local development. Local apps call the cloud-provisioned agent through the injected project endpoint and agent name.
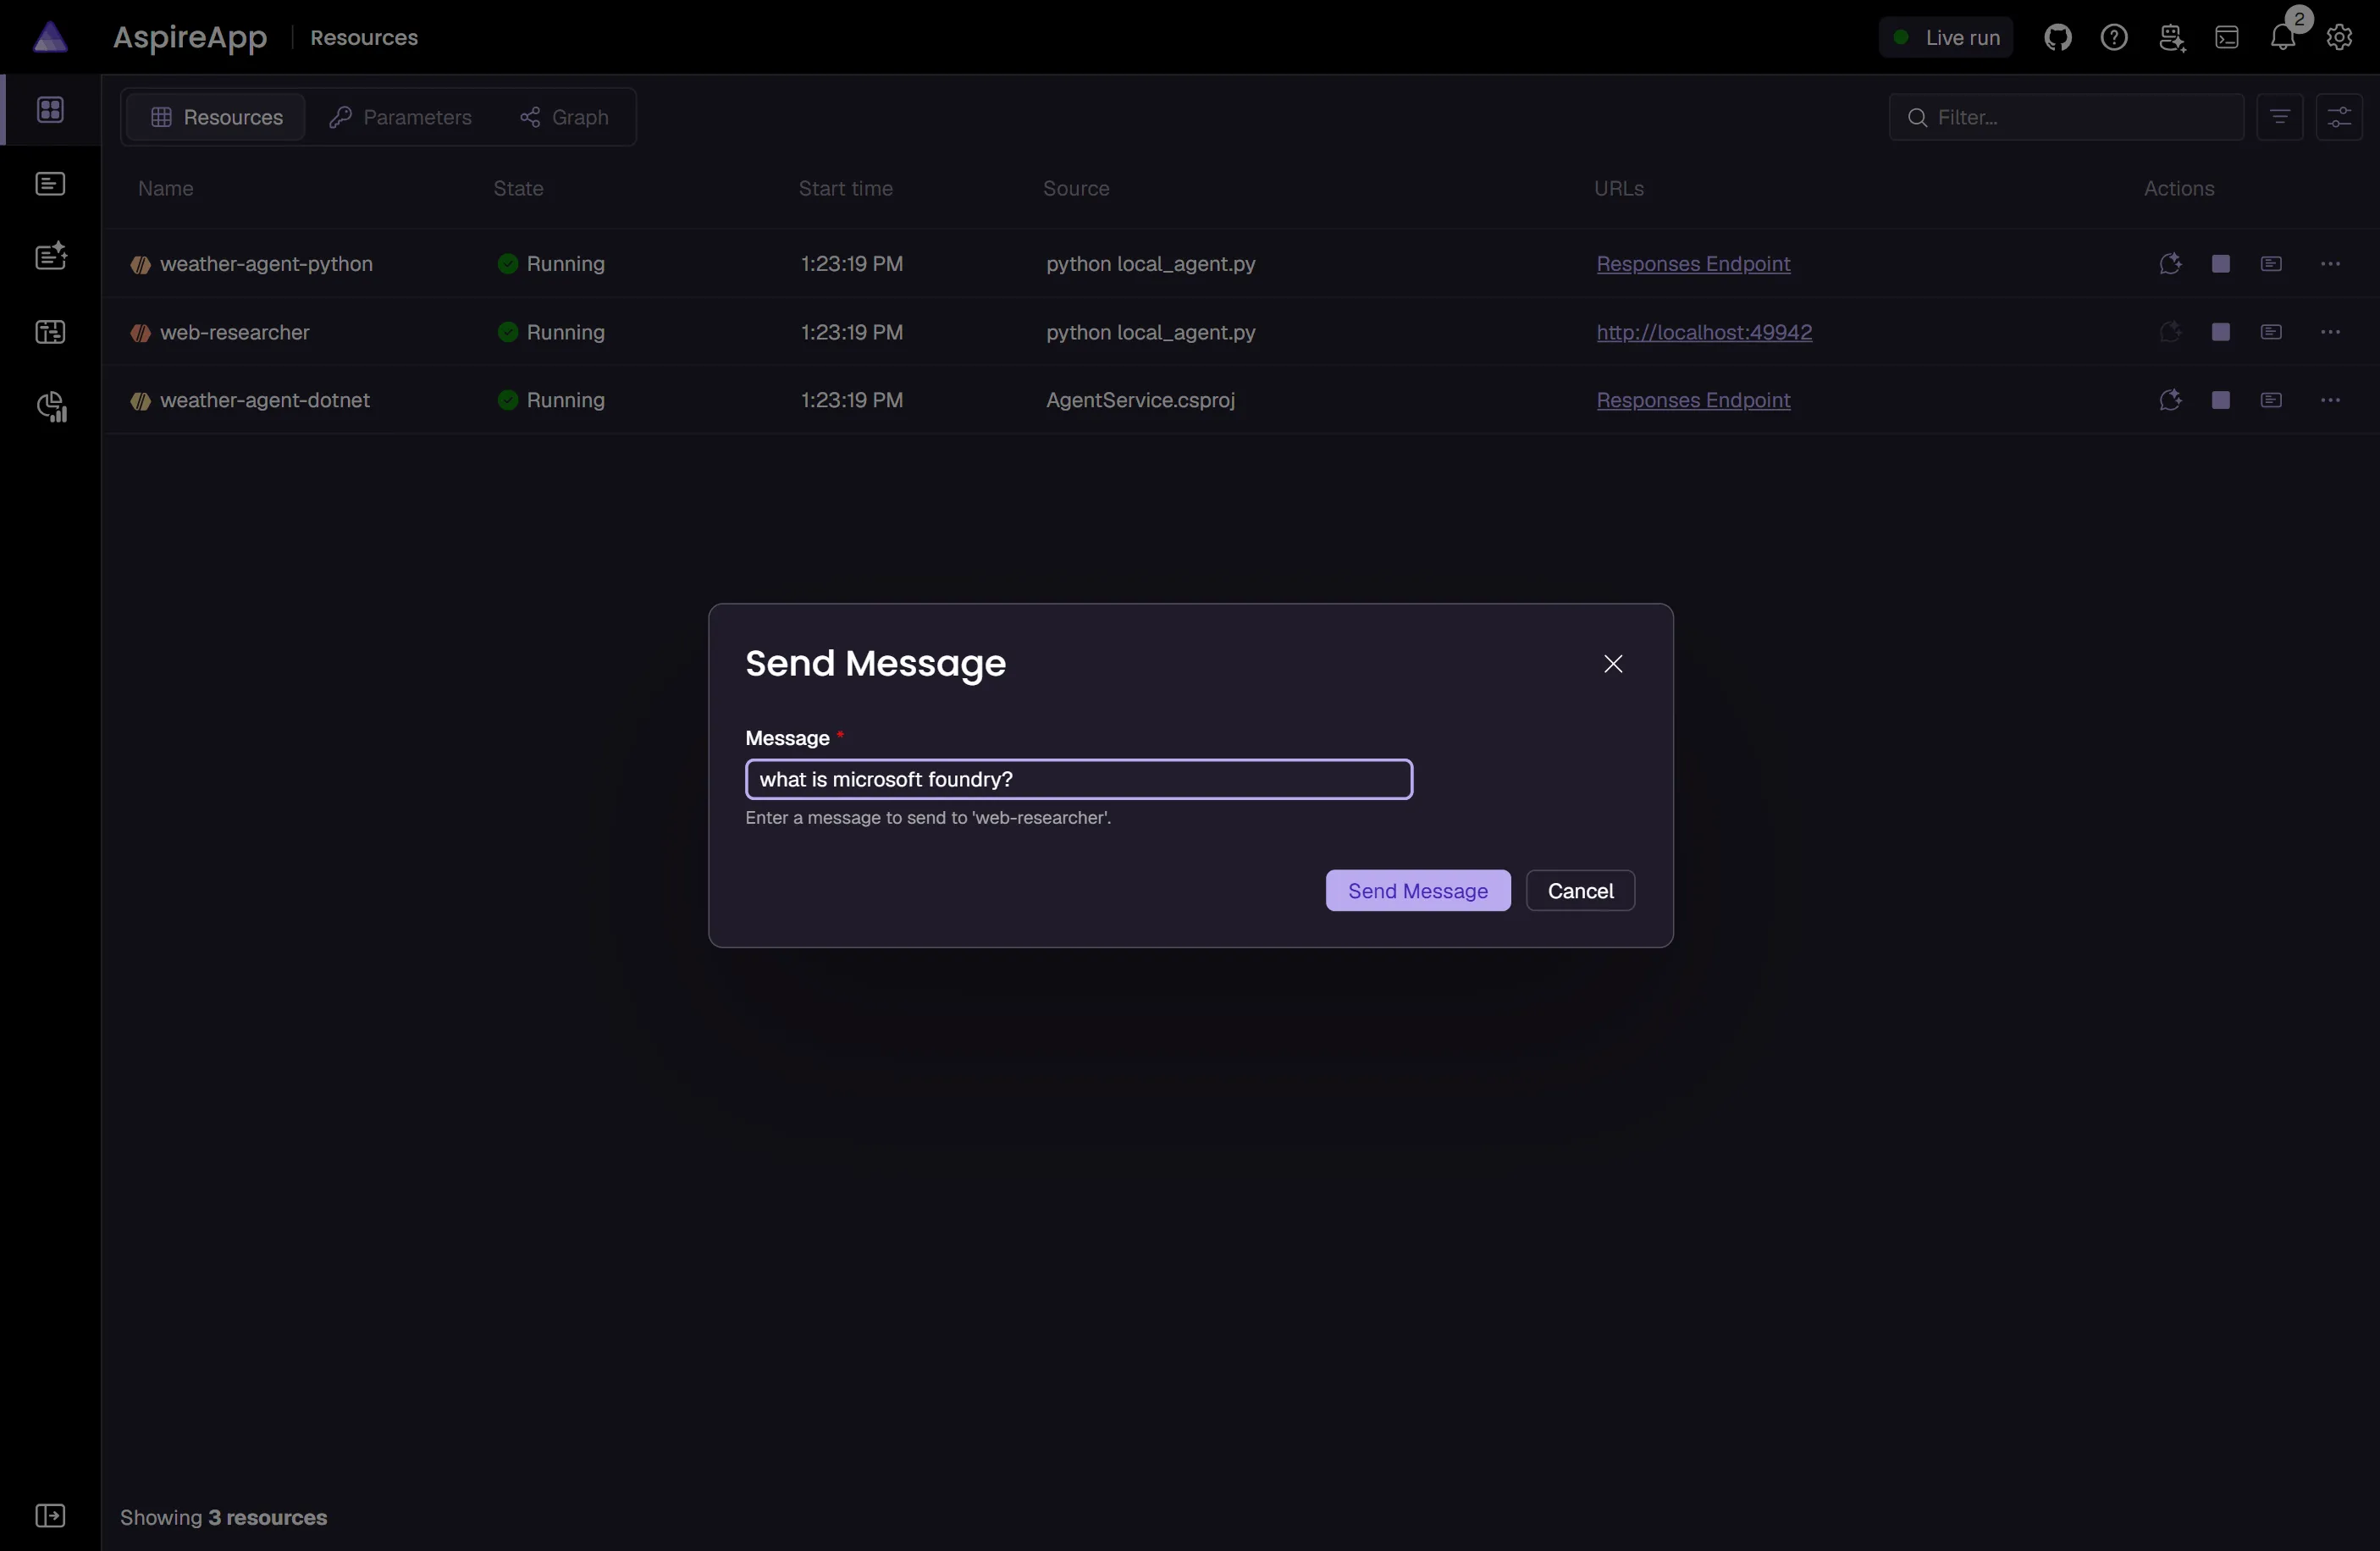
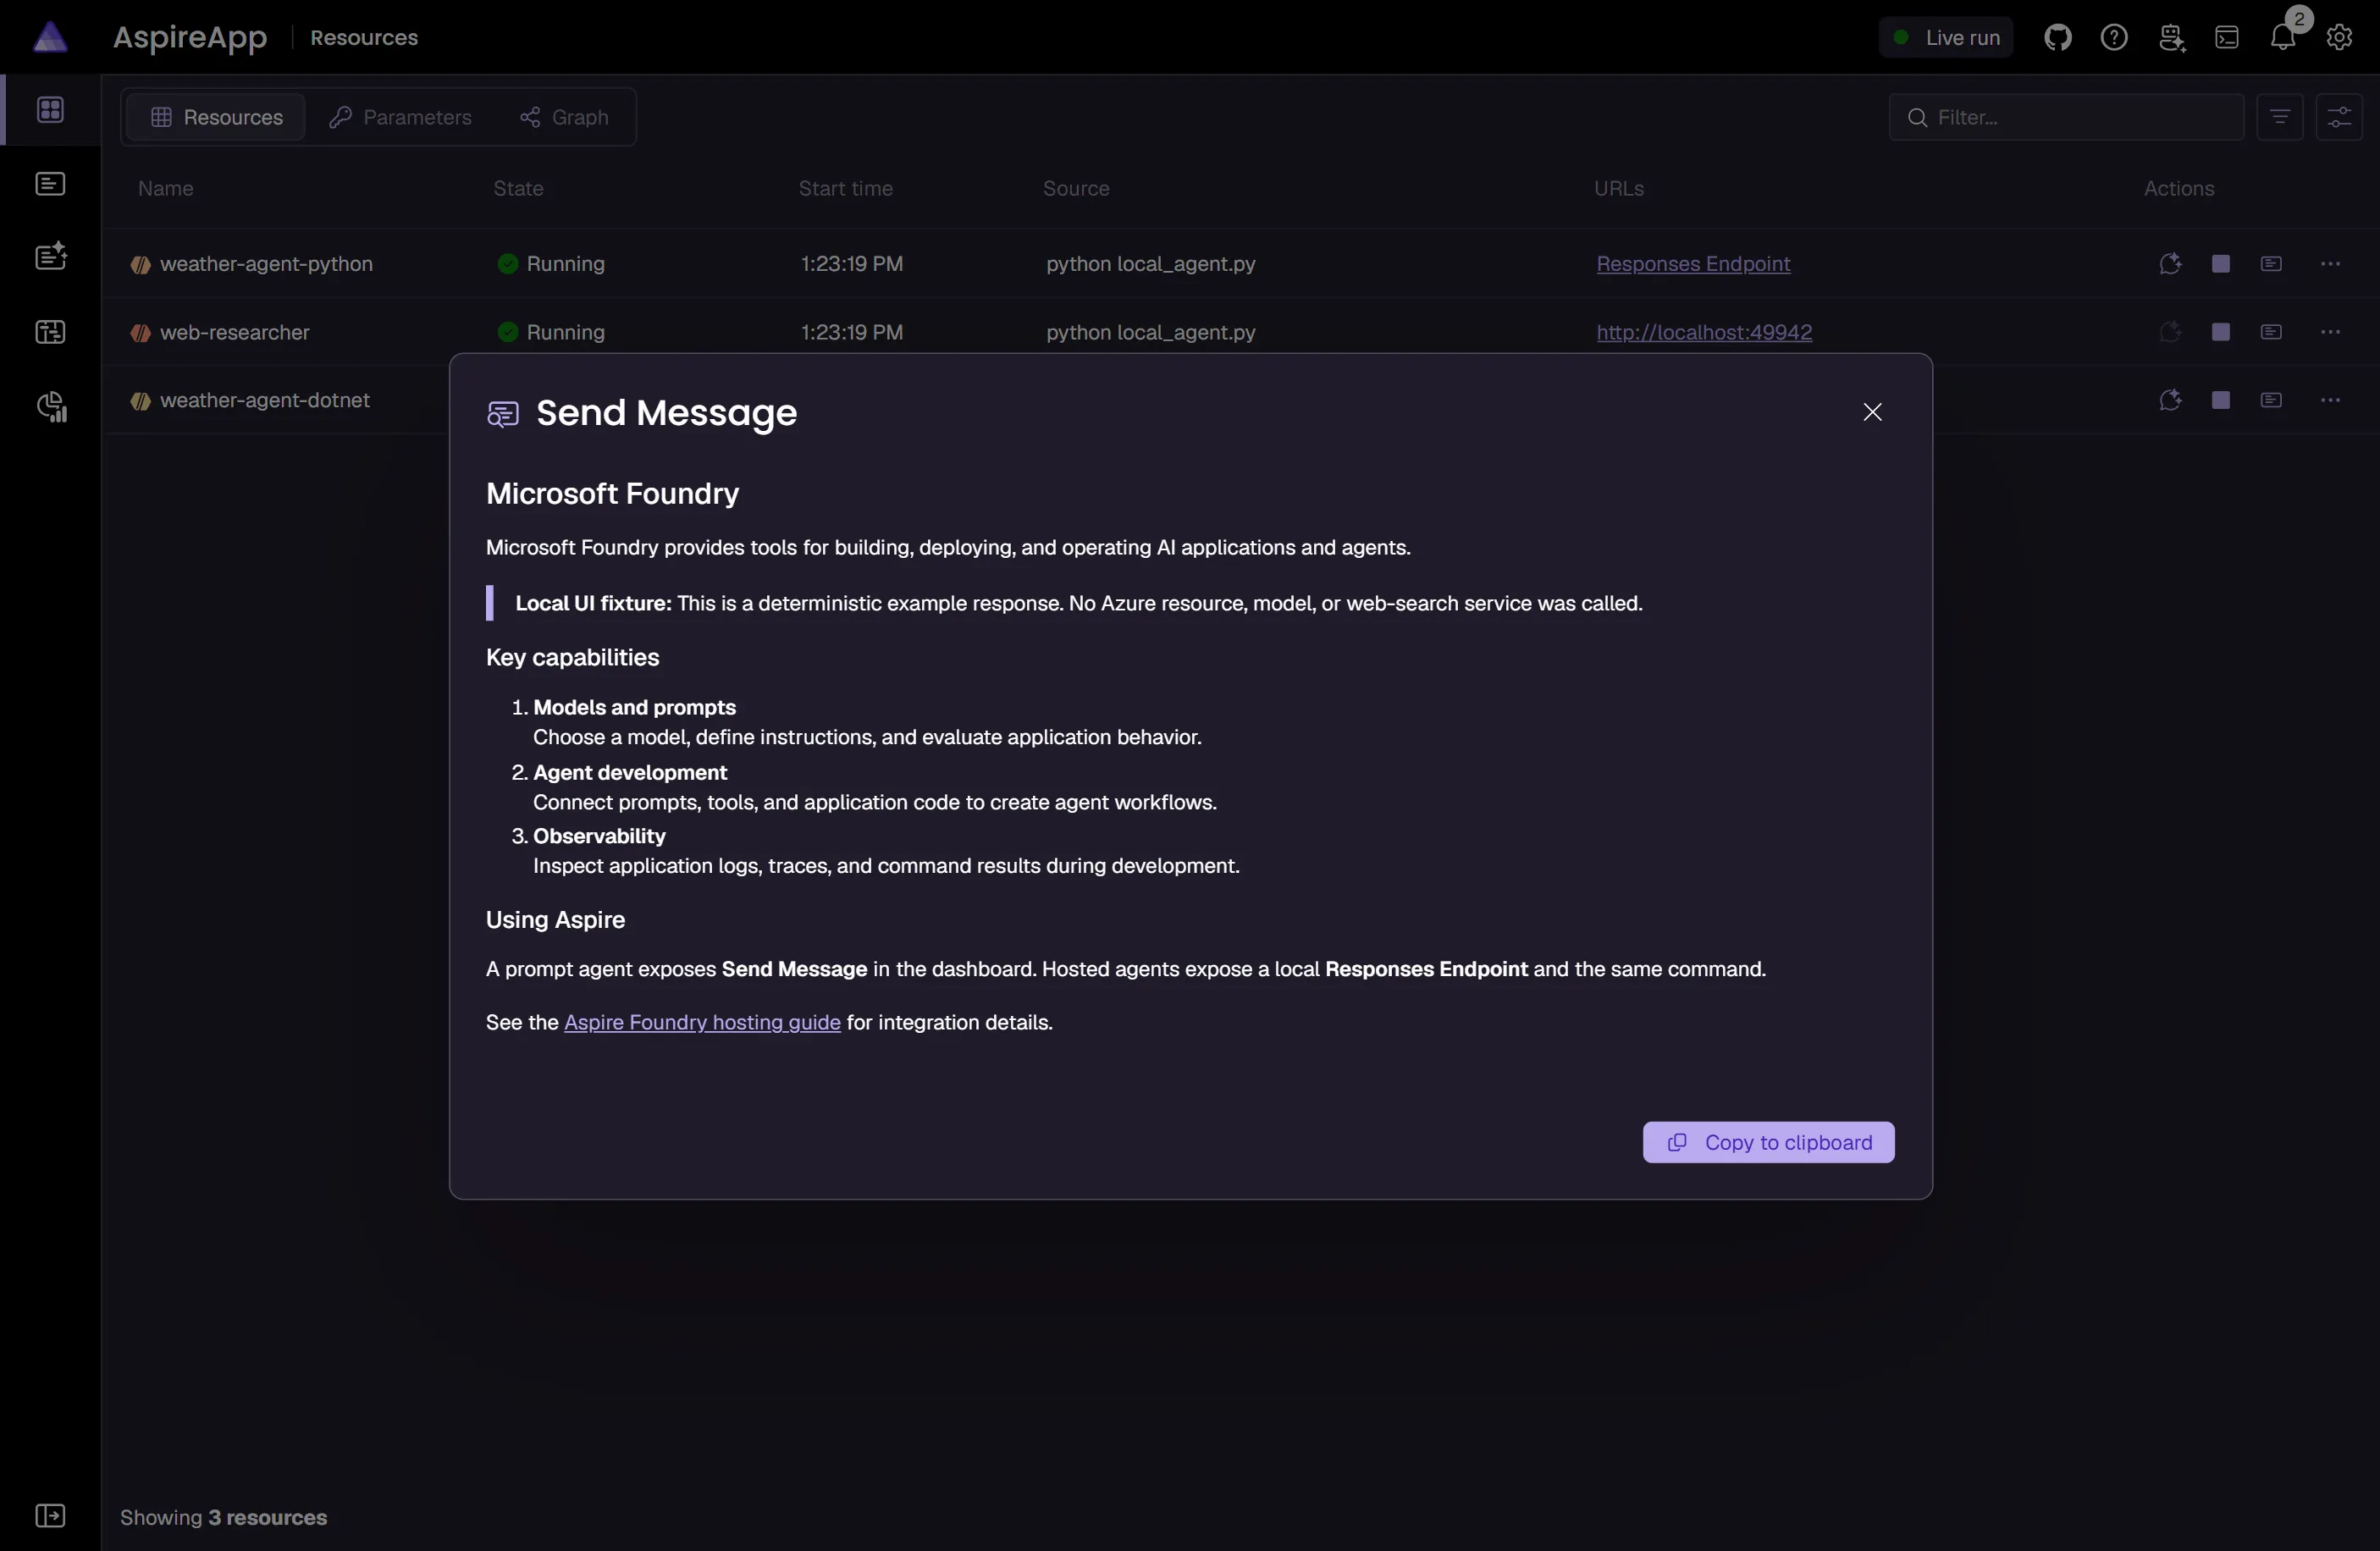
Aspire also makes the declared agents easy to try from the dashboard. Prompt agents get a Send Message command from AddPromptAgent(...). Hosted agents configured with AsHostedAgent(...) get a highlighted Send Message command that posts to the selected protocol path, which defaults to the local /responses endpoint.
The following screenshots use a local demonstration fixture with deterministic example responses to illustrate the dashboard’s command dialogs. They don’t show a live Azure AI Foundry invocation.
You might have an existing Azure AI Foundry service that you want to connect to. You can chain a call to annotate that your FoundryResource is an existing resource:
var builder =DistributedApplication.CreateBuilder(args);
var foundry =builder.AddFoundry("foundry")
.RunAsFoundryLocal();
var chat =foundry.AddDeployment("chat",FoundryModel.Local.Phi4);
builder.AddProject<Projects.ExampleProject>()
.WithReference(chat)
.WaitFor(chat);
// After adding all resources, run the app...
When the AppHost starts, Aspire automatically starts the Foundry Local service using the foundry CLI (supporting both the legacy foundry service and the current foundry server command generations). It then discovers the service endpoint, loads any cached models before downloading new ones, and stops the service when the AppHost shuts down or is disposed. You do not need to pre-start Foundry Local manually.
This requires the foundry CLI to be installed and available on PATH. For installation instructions, see Foundry Local get started.
The RunAsFoundryLocal method configures the resource to use the local service. It downloads and loads the specified models locally, provides health checks for the local service, and fully manages the Foundry Local lifecycle — including start and stop — through the foundry CLI.
Windows Subsystem for Linux (WSL2) and Linux AppHosts can’t manage the Foundry Local lifecycle directly because
the foundry CLI targets Windows or macOS. To connect from one of these hosts
to a Foundry Local service that’s already running elsewhere (for example, on the
Windows host), pass the service’s reachable endpoint to RunAsFoundryLocal:
When you pass an endpoint, Aspire treats the service as unmanaged: it observes
the remote service’s health and loaded models but doesn’t start, stop,
download, or load models on that host. The model must already be downloaded
and loaded on the remote service.
The endpoint must be reachable from the AppHost and every consuming resource.
Set LocalModelId (C#) or localModelId (TypeScript) to the model identifier
reported by the remote service when the deployment’s model name is an alias
rather than the exact identifier the remote service expects.
Assigns the specified roles to the given resource, granting it the necessary permissions on the target Microsoft Foundry resource. This replaces the default role assignments for the resource.
The preceding code assigns the CognitiveServicesUser role to the api project, granting it the necessary permissions to access the Microsoft Foundry resource.
If you’re new to Bicep, it’s a domain-specific language for defining Azure resources. With Aspire, you don’t need to write Bicep by-hand, instead the provisioning APIs generate Bicep for you. When you publish your app, the generated Bicep provisions an Azure AI Foundry resource with standard defaults.
Generated Bicep — ai-foundry.bicep
@description('The location for the resource(s) to be deployed.')
The preceding Bicep is a module that provisions an Azure Cognitive Services resource configured for AI Services. Additionally, role assignments are created for the Azure resource in a separate module:
Generated Bicep — ai-foundry-roles.bicep
@description('The location for the resource(s) to be deployed.')
The generated Bicep is a starting point and is influenced by changes to the provisioning infrastructure in C#. Customizations to the Bicep file directly will be overwritten, so make changes through the C# provisioning APIs to ensure they’re reflected in the generated files.
All Aspire Azure resources are subclasses of the AzureProvisioningResource type. This enables customization of the generated Bicep by providing a fluent API to configure the Azure resources—using the ConfigureInfrastructure API:
AppHost.cs
builder.AddFoundry("foundry")
.ConfigureInfrastructure(infra =>
{
var resources =infra.GetProvisionableResources();
var account =resources.OfType<CognitiveServicesAccount>().Single();
account.Sku=newCognitiveServicesSku
{
Tier=CognitiveServicesSkuTier.Enterprise,
Name="E0"
};
account.Tags.Add("ExampleKey","Example value");
});
The preceding code:
Chains a call to the ConfigureInfrastructure API:
The infra parameter is an instance of the AzureResourceInfrastructure type.
The provisionable resources are retrieved by calling the GetProvisionableResources method.
The single CognitiveServicesAccount resource is retrieved.
The Sku property is assigned to a new instance of CognitiveServicesSku with an E0 name and Enterprise tier.
A tag is added to the Cognitive Services resource with a key of ExampleKey and a value of Example value.




 Aspire